What is the WIBA ABA Conference?
June 12, 2026
June 12, 2026
We’re hiring BTs, BCBAs, Clinical Psychologists & More. View open positions


FEATURED POSTS


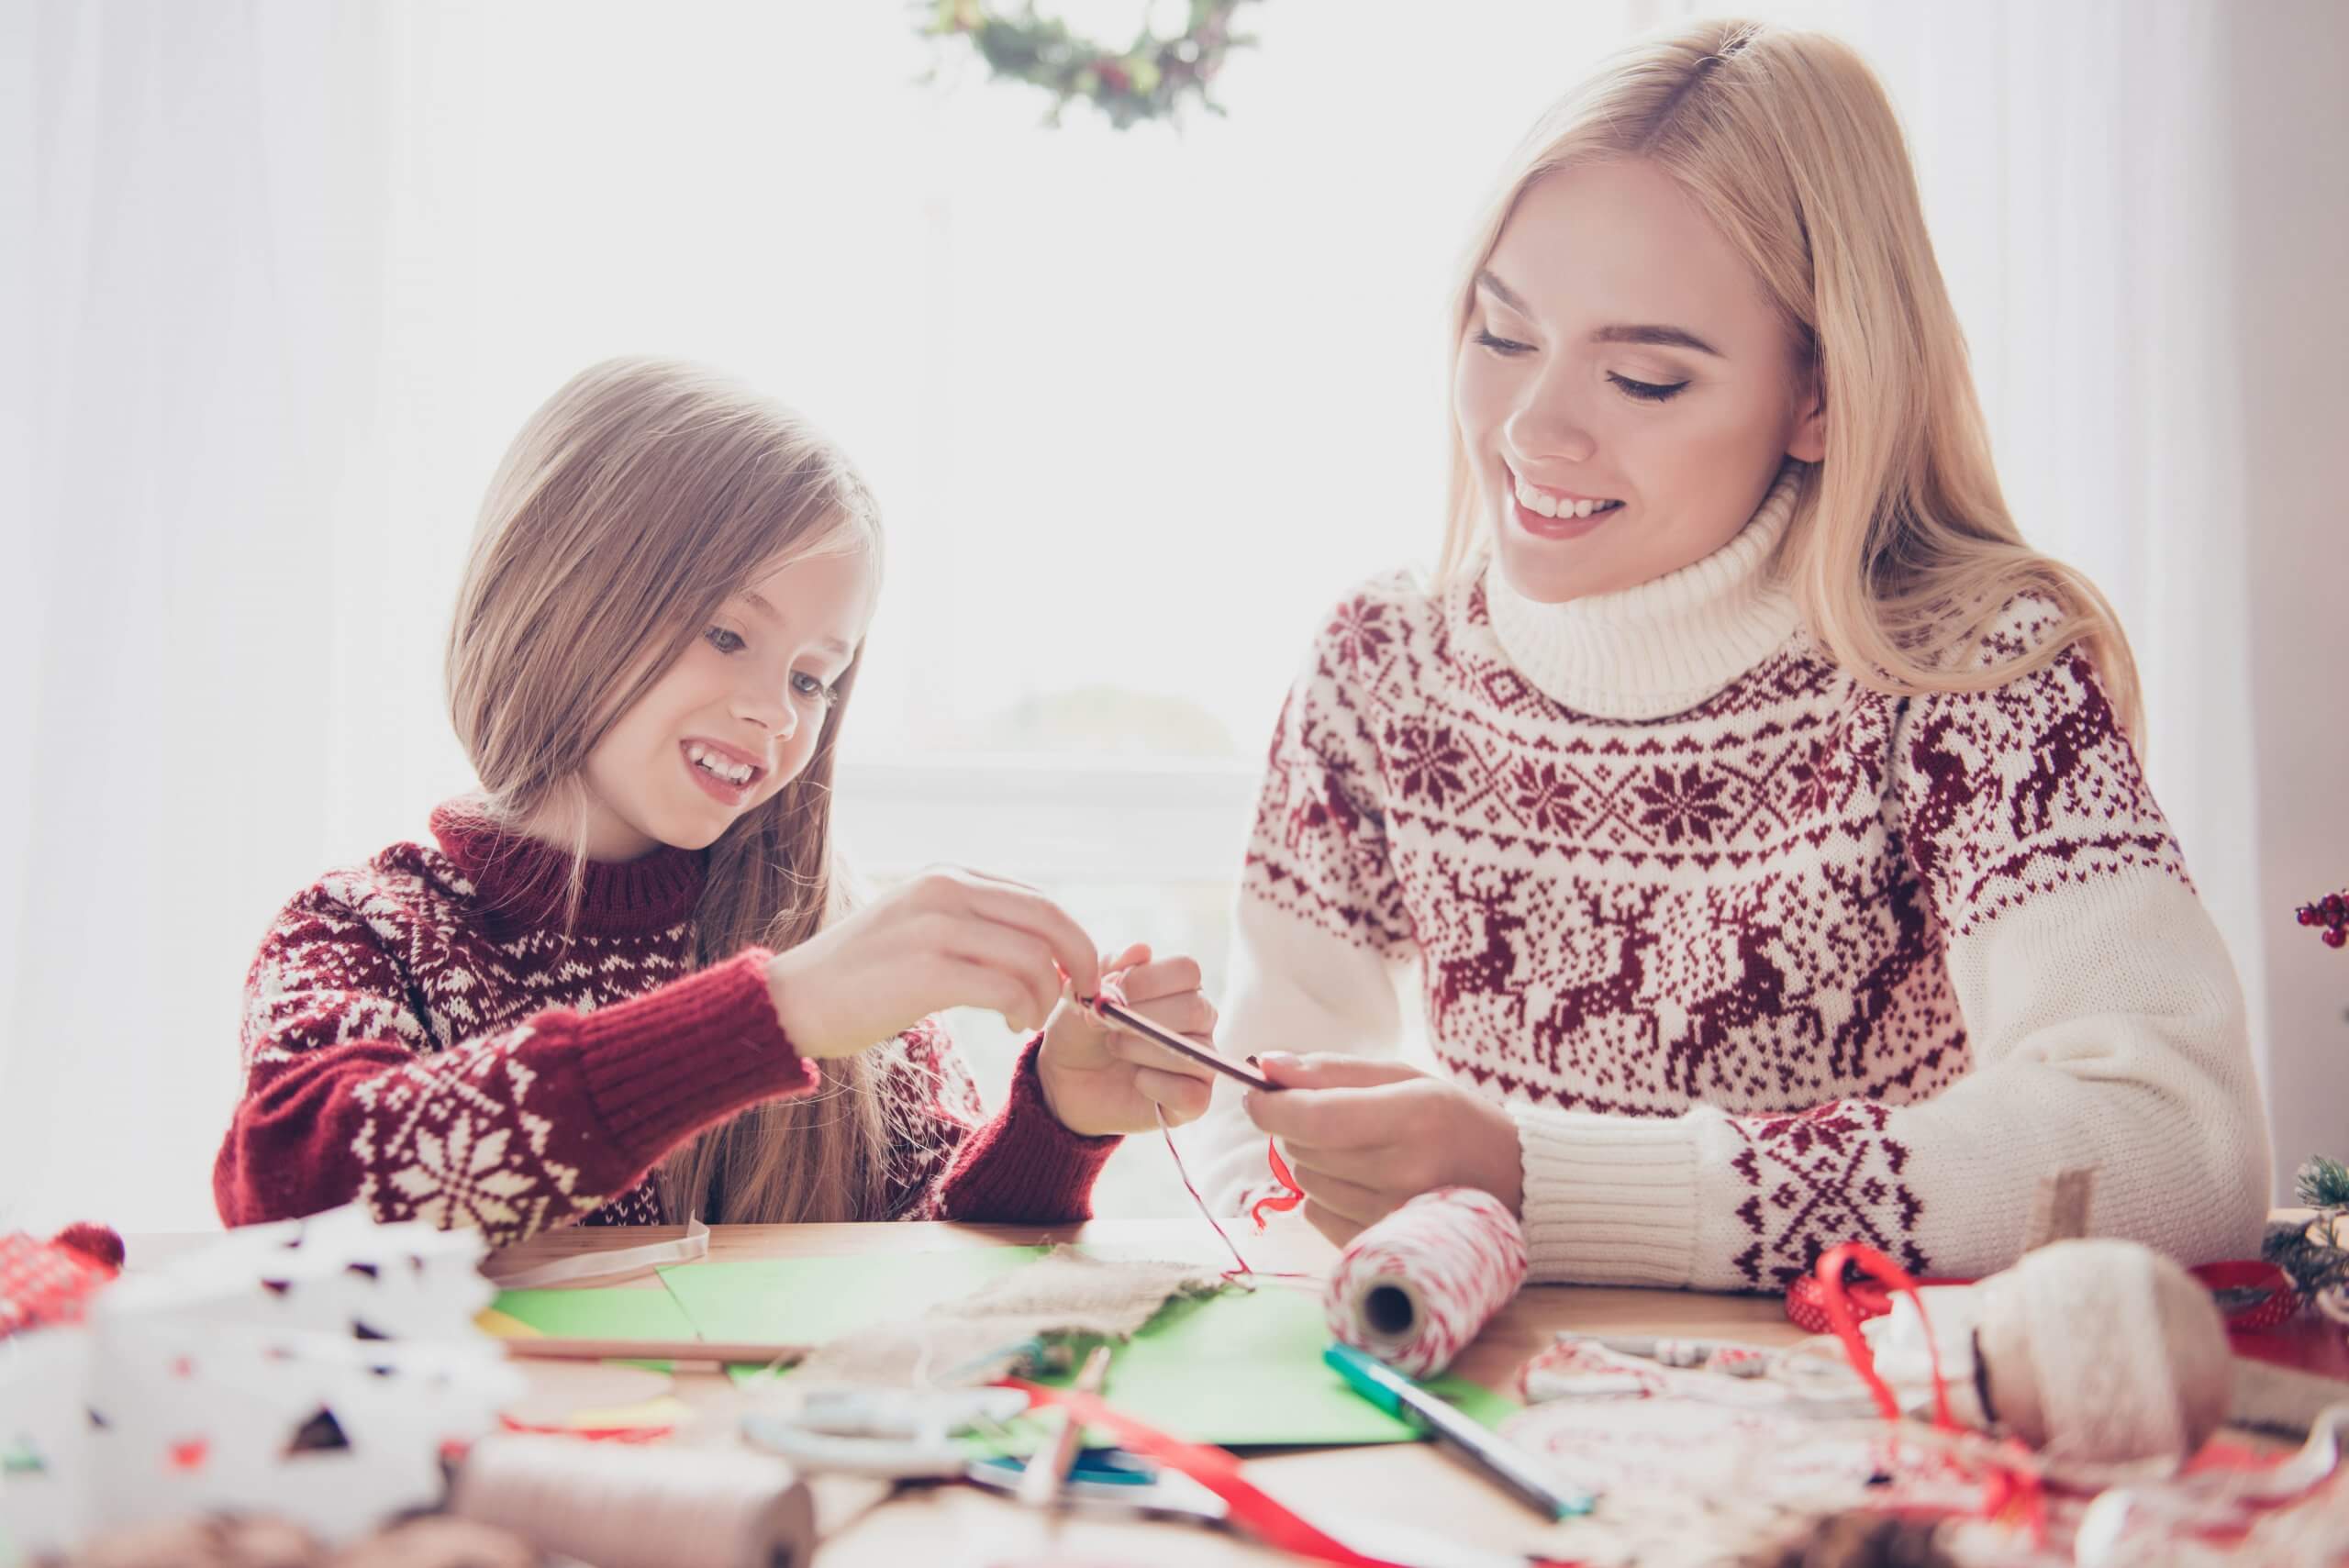
The coronavirus pandemic influences our daily activities and life in a profound way. With the holidays upon us, many families want to create new ways to celebrate the season and honor family traditions. Involving your children in different activities can be a great way to create fun and engaging experiences, while fostering your child’s development of social skills, citizenship, sense of belonging, and contribution.
As you spend more time at home, try these crafts that you and your children can do together to celebrate the season or, even, start a new tradition.
Lighting candles on a menorah is one of the most treasured traditions of Hanukkah, also known as the festival of lights. After you make this, encourage your child to gift it to a friend or family member on Hanukkah, or use it yourselves to make the holiday symbolic and memorable.
One large glass jar
Sand of a few different colors
Small glass jars
Funnel
Silver straws or battery-operated tea lights
Scissors
Yellow grosgrain (or corded) ribbon
Take eight small jars and one big jar. Use a funnel to fill the jars with colored sand. If you’d like, try pouring different colors into one jar to make layers. To create patterns, tilt the jar as you pour the sand or use a wooden popsicle stick to move the different colors around. Don’t forget to tap the jar after filling. Pick your favorite candles (such as birthday candles) to place in the jar. For younger children or children who may need additional supervision, silver straws, tea lights or battery-operated tea lights, are an excellent option.
Based on the famous Rorschach ink blog test, ink blot prints are tons of fun for kids to make and attempt to “read.” Help your children make prints to gift to someone they care about for New Year’s.
Small paintbrushes
Medium weight art paper
Sponges in different shapes
Picture frame
Tempera paints
Take a white piece of paper and fold it in half. Generously dab or pour paint on one side of the folded paper. Try using differently shaped sponges to dab designs onto the paper. Next, fold the other side of the paper and press down. Open the paper to see the design and let it dry. Then ask your child: what shapes or images can you make out in the design? Place the painting in a frame to display it around your home, or wrap it up and give it to a friend or loved one.
These fun, imaginative bottles are perfect to make for each person at your holiday table or to send to family members. Best of all, your child can make each bottle unique and customize it for each recipient.
Small bottle or jar
Hair gel or baby oil
Water
Glitter
Paper clips
Water beads (or buttons or other small objects)
Optional: Magnet, ribbon, permanent marker
Take an empty bottle and pour in hair gel (or baby oil), water, and a little glitter. Add miniature objects, such as beads, buttons, figurines, and paper clips. Seal the bottle tightly and shake. To decorate the outside of the bottle, consider tying a ribbon around the neck or writing on the outside with permanent marker.
Once completed, your child can take a magnet alongside the exterior of the bottle to make the paper clips move. You can also turn the bottle in different directions to watch the objects slowly move around and settle.
Unique clay bowls make a lovely Christmas Gift. After all, they’re great for storing everything from spare change and hair clips to buttons and safety pins. Kids love the squishy feel of clay—and take pride in making something useful for grown-ups.
Wax paper
White air-dry clay
Water
Small rolling pin
Cooking oil
Non-washable ink pad
Chipboard letters or rubber letter stamps
Cotton swab
Knead the clay for a few seconds to warm it up and loosen it. Flatten it on wax paper, maintaining at least a quarter-inch thickness. Wet the top of the clay with water to smooth the surface, and then let the clay sit for eight to 10 minutes.
Apply a small amount of cooking oil to the surface with your finger. Put the ink on your stamp and press it on the wet surface. To clean any unwanted oil or impression, use a cotton swab. Mold the corners to shape it into a bowl. Experiment with different shapes and sizes. Leave the bowl on wax paper for three days to let it completely dry, and then wrap it up as a gift for family or friends.
